Things You Can Make With Drawings for Christmas
Putting up Christmas decorations and watching the Christmas lights sparkle is fun, but sadly, we get rid of the Christmas stuff again as soon as January comes around.
Why not learn how to draw Christmas stuff instead? By drawing a beautiful Christmas tree with lots of gifts underneath, you can feel the spirit of Christmas at any time of the year!
Fortunately, we have curated a step-by-step process on how to draw Christmas stuff, summed up in 9 easy and simple steps.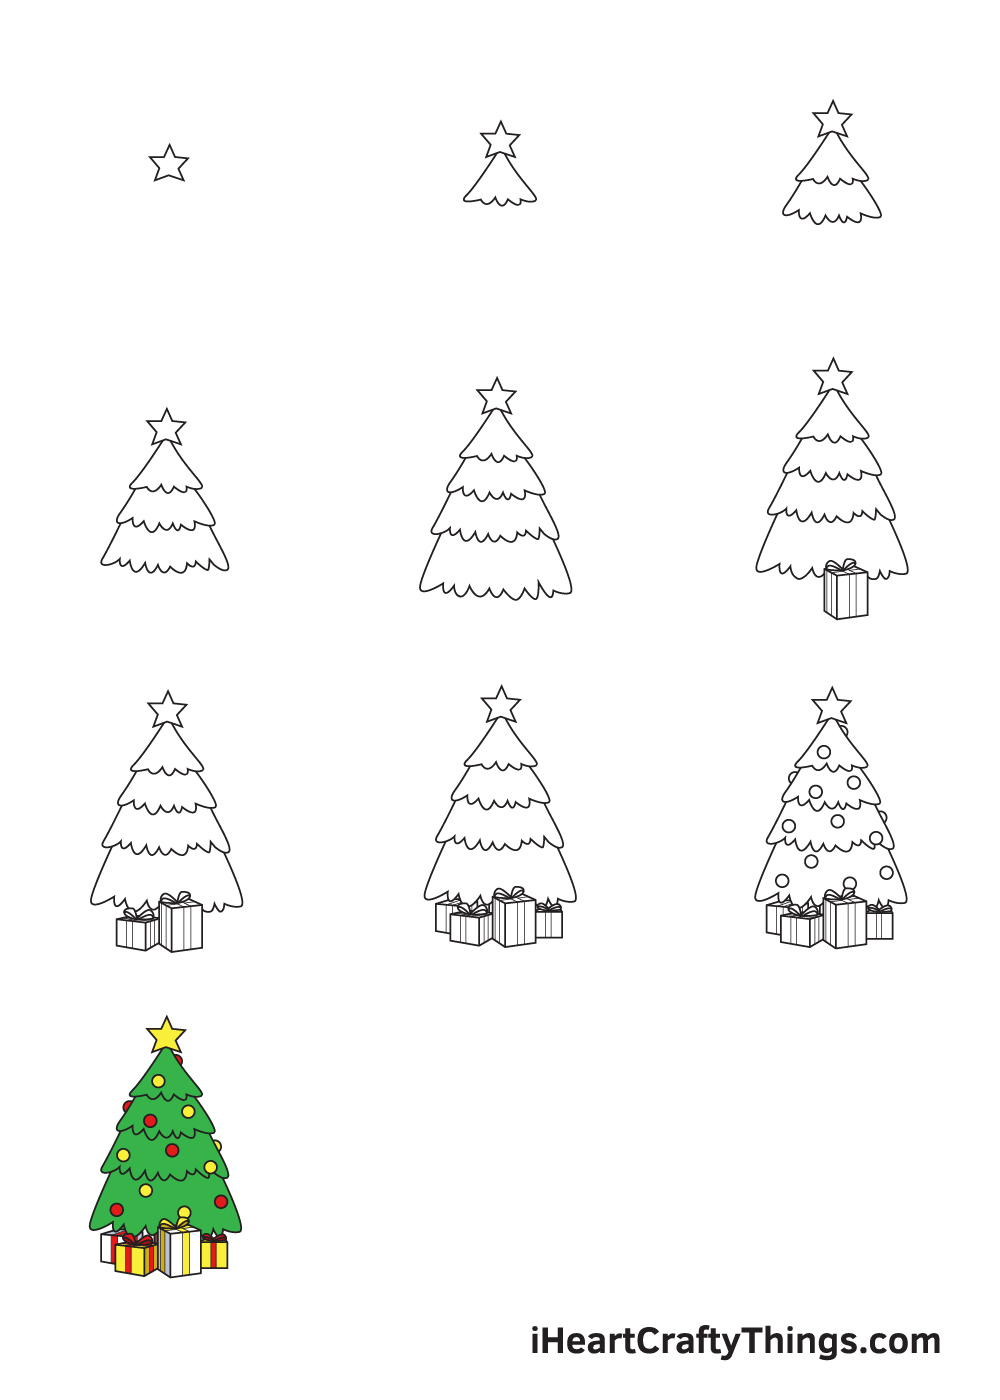
Each instruction comes with illustrations to help you follow the steps effortlessly.
So, what are you waiting for? Go ahead and grab a piece of paper along with your favorite pencil and let's start drawing Christmas stuff!
Have fun and unleash your inner creativity!
What's in this Blog Post
- How to Draw Christmas Stuff — Let's get started!
- Step 1
- Step 2 — Draw the Christmas Tree's Topmost Layer
- Step 3 — Draw the Christmas Tree's Second Layer
- Step 4 — Next, Draw the Christmas Tree's Third Layer
- Step 5 — Draw the Bottom Layer of the Christmas Tree
- Step 6 — Add a Huge Present Under the Christmas Tree
- Step 7 — Next, Draw a Smaller Gift Under the Tree
- Step 8 — Now, Draw Two More Gifts Under the Tree
- Step 9 — Adorn the Christmas Tree with Ornaments
- Your Christmas Stuff Drawing is Complete!
How to Draw Christmas Stuff — Let's get started!
Step 1
Starting from the top down to the bottom, draw a star in the middle of the upper portion of your paper. This will be the ornament at the top of the Christmas tree.
By starting at the top of your paper, there will be sufficient space to structure the entire Christmas tree along with a few presents underneath.
Step 2 — Draw the Christmas Tree's Topmost Layer
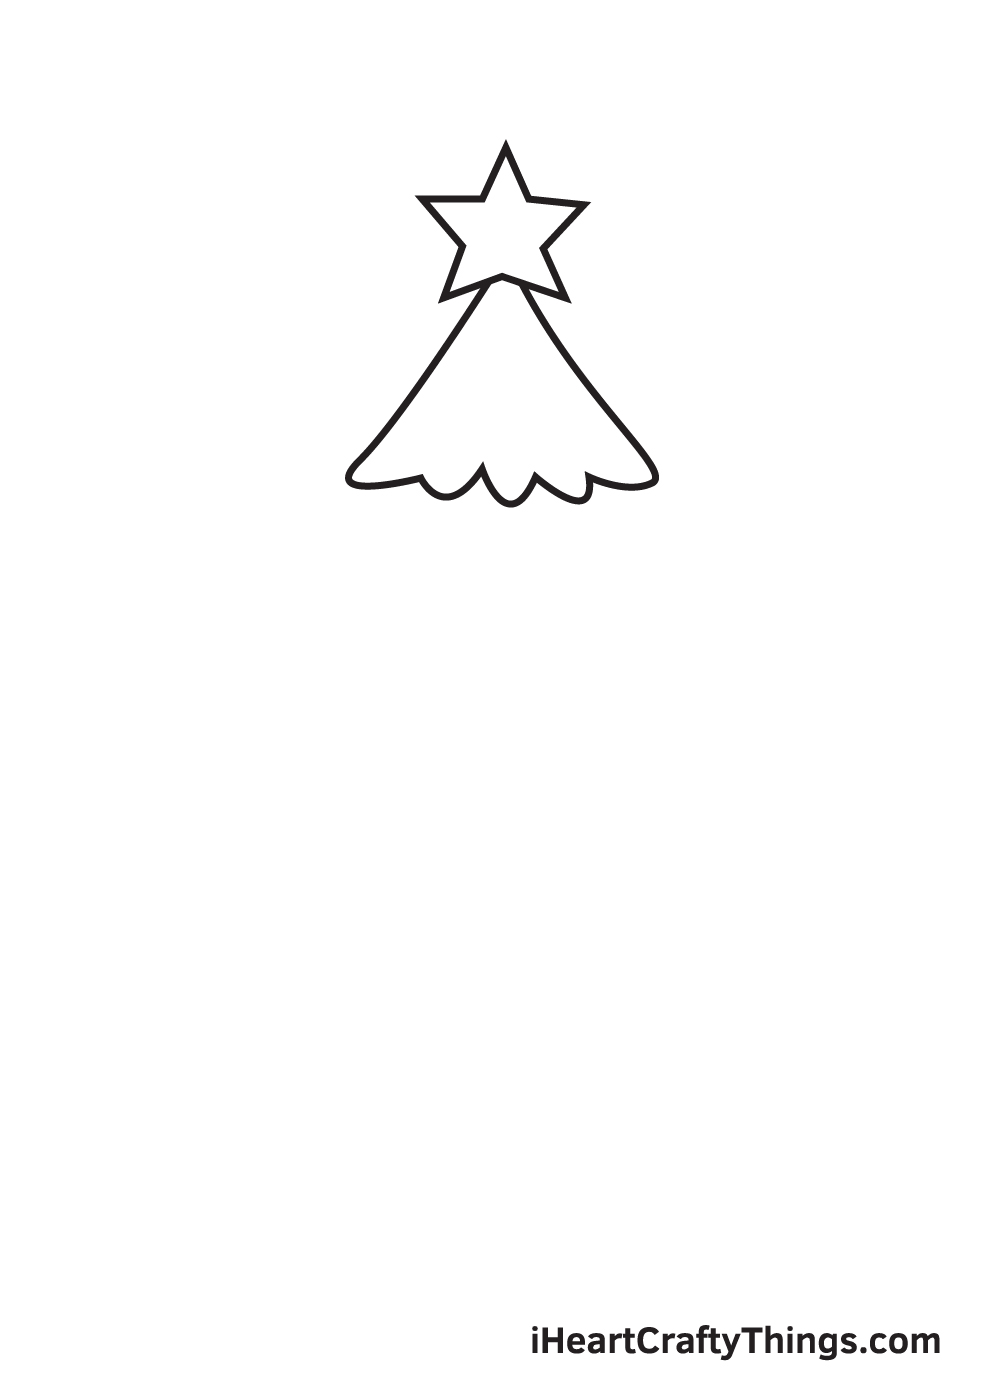
Right underneath the star, draw a triangle shape with a curvy line at the bottom. This creates the topmost layer of the Christmas tree.
Make sure that there's some slight curve to the diagonal lines on both sides and that they look like downward slopes.
Step 3 — Draw the Christmas Tree's Second Layer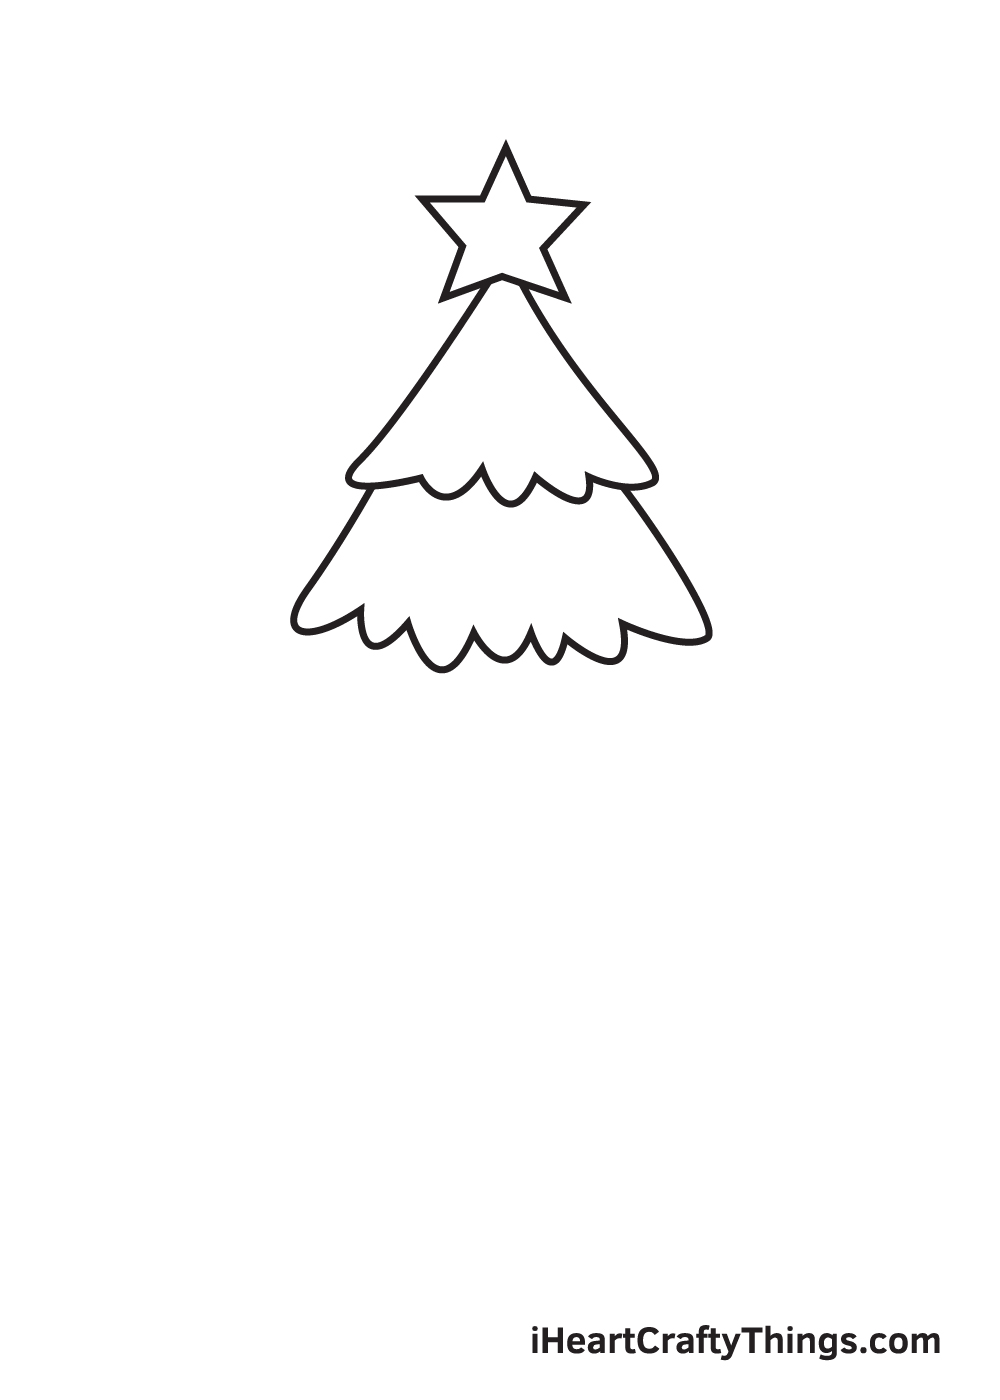
Draw two downward diagonal lines headed towards opposite directions beneath the first layer we drew in the previous step.
This forms the second layer of your Christmas tree.
Step 4 — Next, Draw the Christmas Tree's Third Layer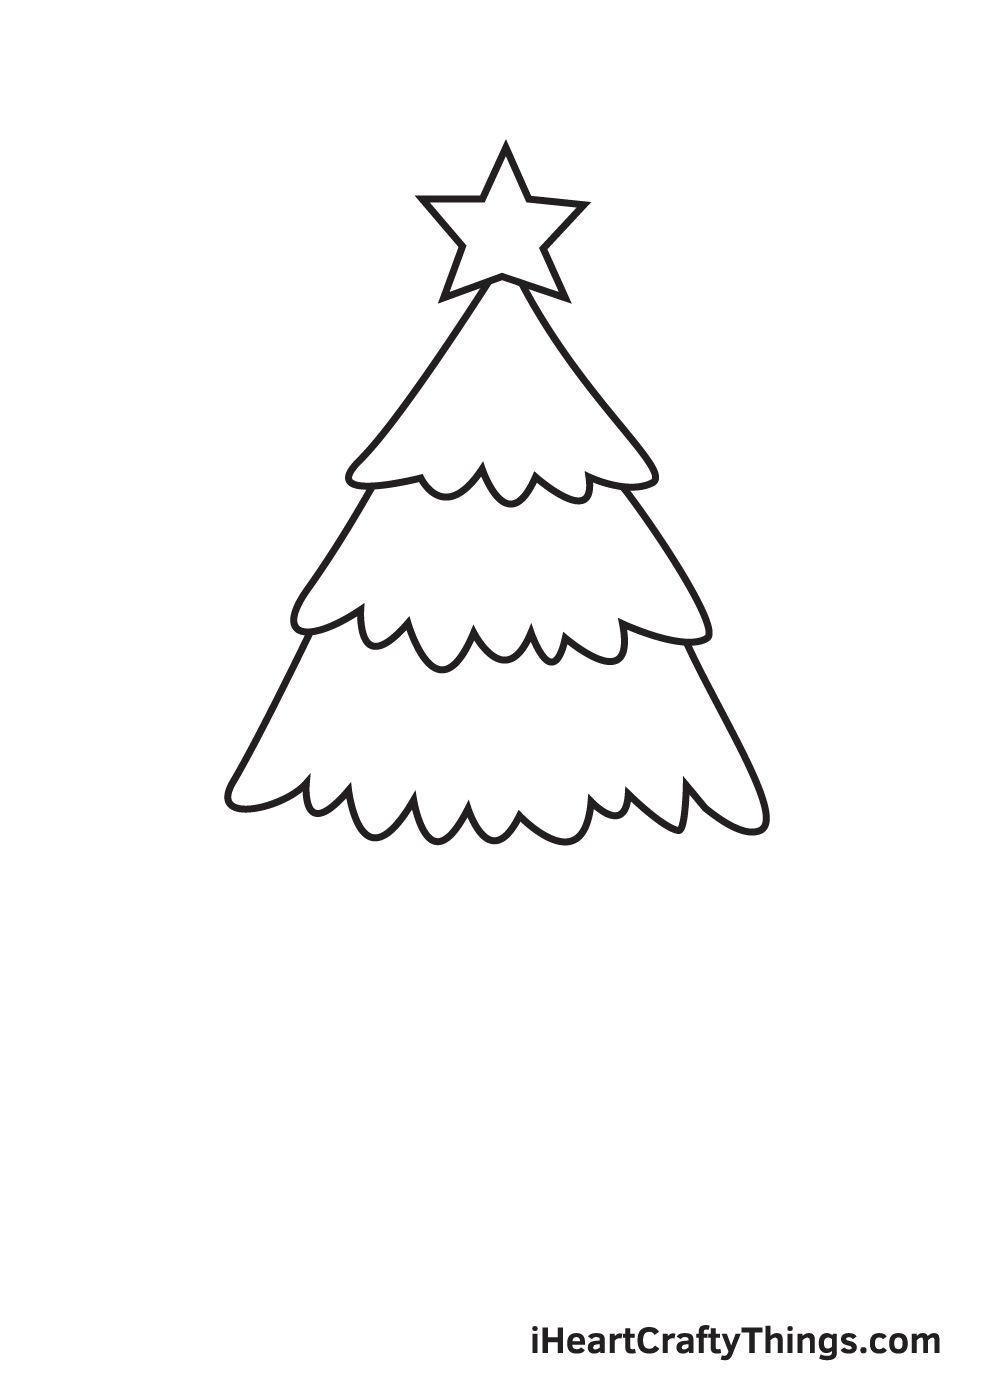
Repeat the previous step to create the third layer below the second layer.
Step 5 — Draw the Bottom Layer of the Christmas Tree
Draw the last layer underneath the layer we drew in the previous step. This should be the biggest layer among all four layers of the Christmas tree.
Keep in mind that the Christmas tree should form a triangular shape. That means, the layers from top to bottom should go from the smallest to the biggest.
After completing this step, you should now have four layers and the structure of your Christmas tree should now be complete!
Step 6 — Add a Huge Present Under the Christmas Tree
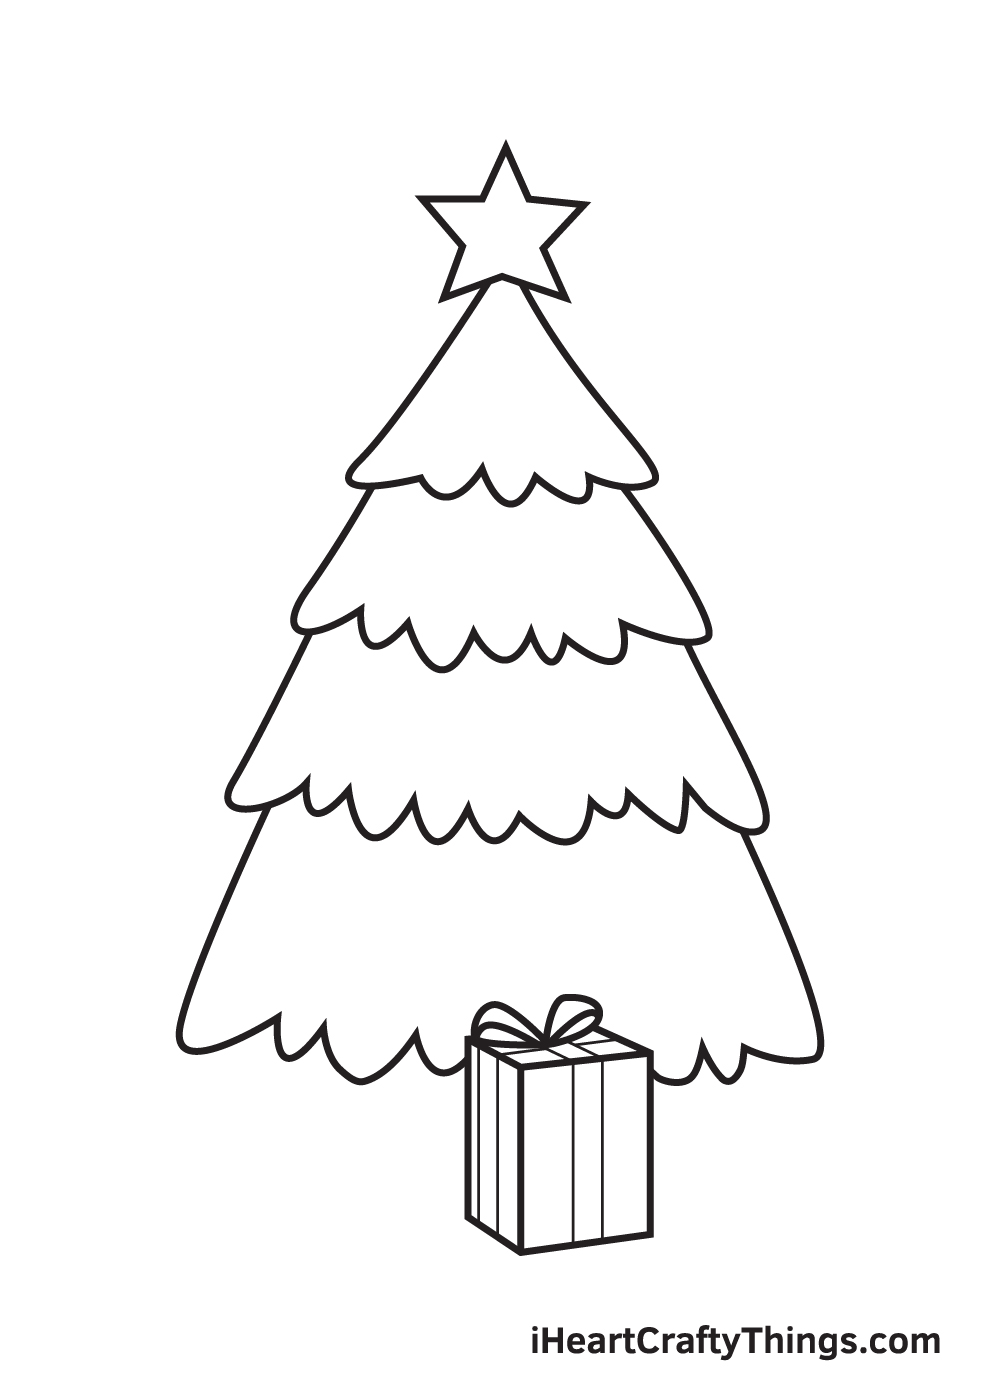
Underneath the Christmas tree, draw a three-dimensional upright rectangular box. Drawing a box with dimensions is easy!
Simply start by drawing a standing flat rectangular shape that is slightly tilted diagonally. Then, draw a narrow diagonal rectangular shape on its left side and a square shape at the top.
Don't forget to add parallel lines on all visible sides of the gift box to create the ribbon!
Step 7 — Next, Draw a Smaller Gift Under the Tree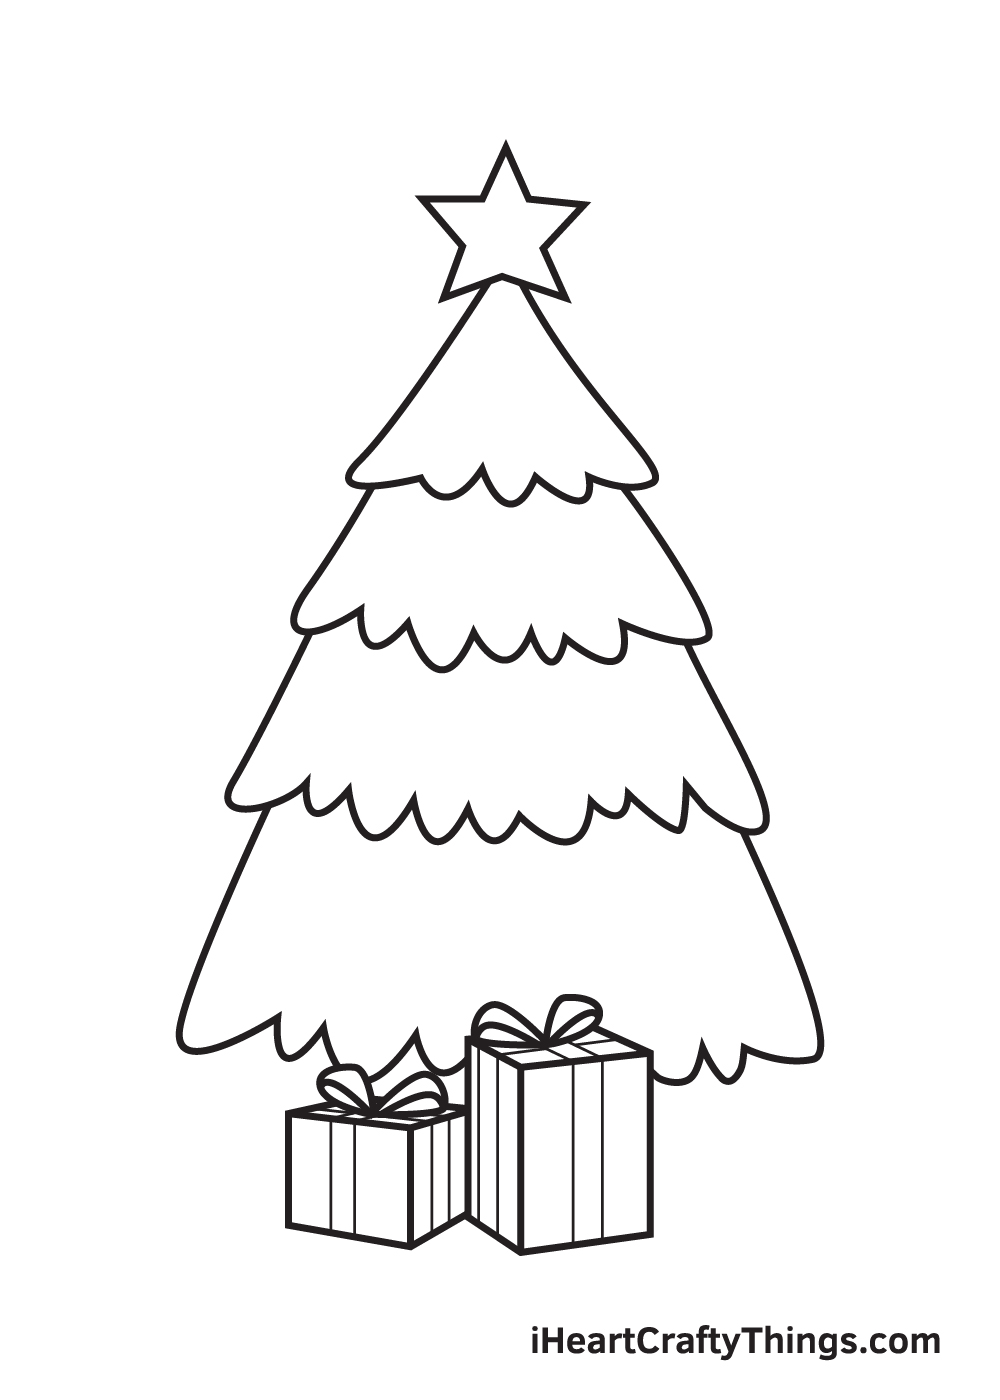
Draw a smaller present under the Christmas tree beside the first one we drew in the previous step.
This time, however, the dimensions should be on the right side of the gift, opposite to the previous one. This makes the gifts look more proportionate.
Step 8 — Now, Draw Two More Gifts Under the Tree
Repeat the previous step to create two more presents on each side of the two gift boxes we drew in the previous gifts. Don't forget to add ribbons on these two presents as well!
At this point, you should not have four boxes of presents underneath the Christmas tree.
Step 9 — Adorn the Christmas Tree with Ornaments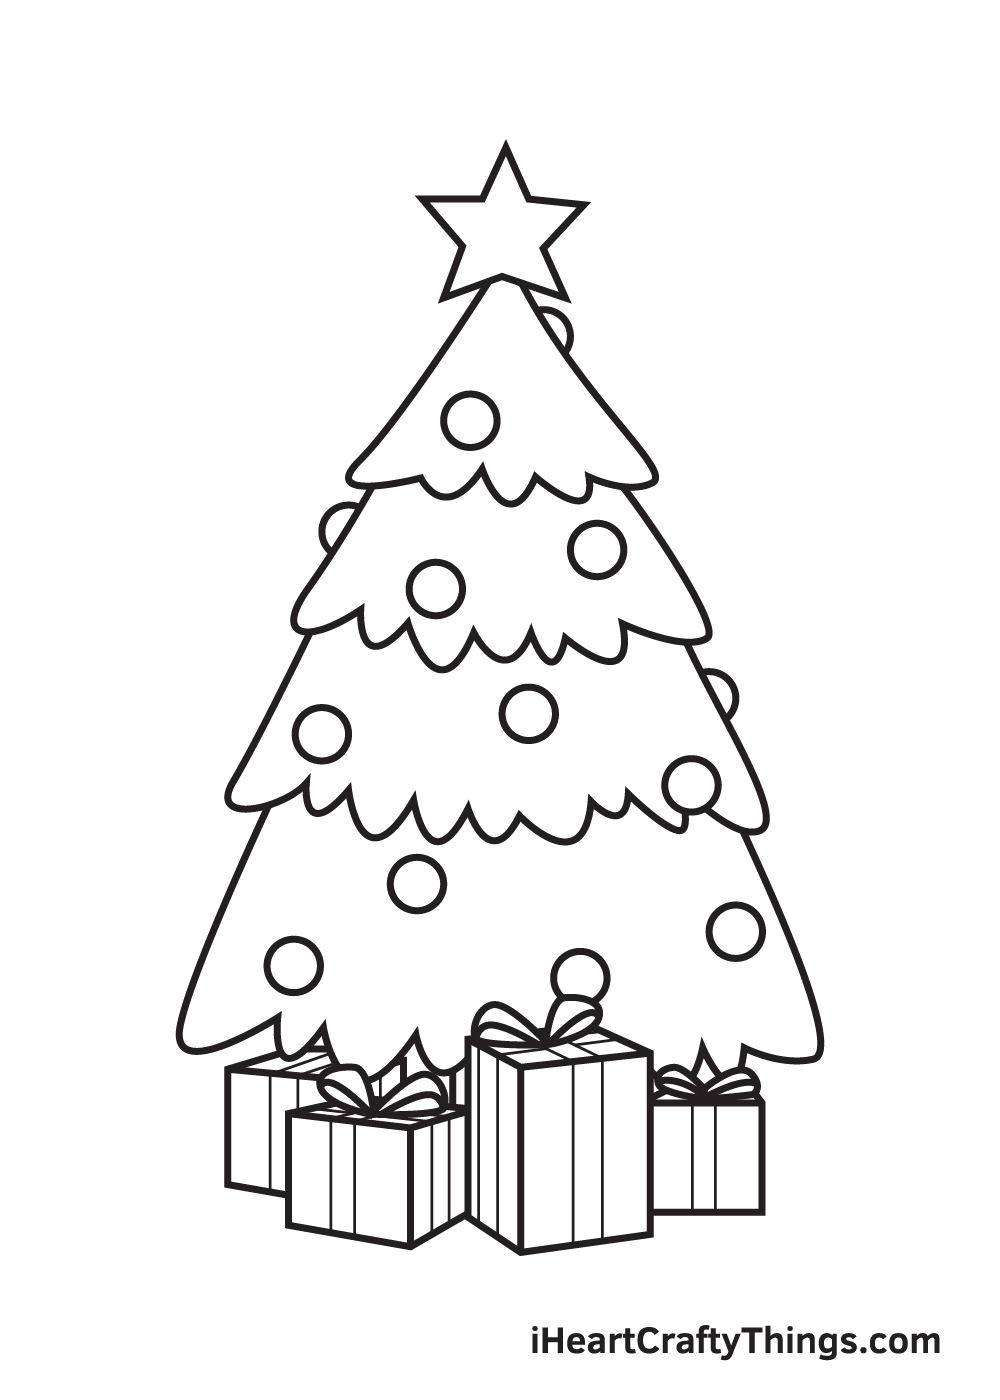
Make your Christmas tree look eye-catching by adding ornament balls hanging all over the surface of the tree.
Simply draw multiple circles on different spots to make the ornaments look evenly distributed across the Christmas tree, as shown in the illustration. Feel free to place the balls wherever you like!
Now that we have successfully drawn a Christmas tree, it's time for the most enjoyable part, which is choosing the colors and coloring the Christmas tree.
Traditionally, Christmas trees are primarily colored green as they are live evergreen, pine, or fir tree. Today, however, artificial Christmas trees have been developed and it comes in many color options.
The star at the very top of the Christmas tree is typically yellow, but it also exists in other colors.
The Christmas balls adorning the Christmas tree as well as the box of presents underneath comes in a wide range of colors.
Feel free to customize the colors of the Christmas stuff in your drawing! Which colors will you choose?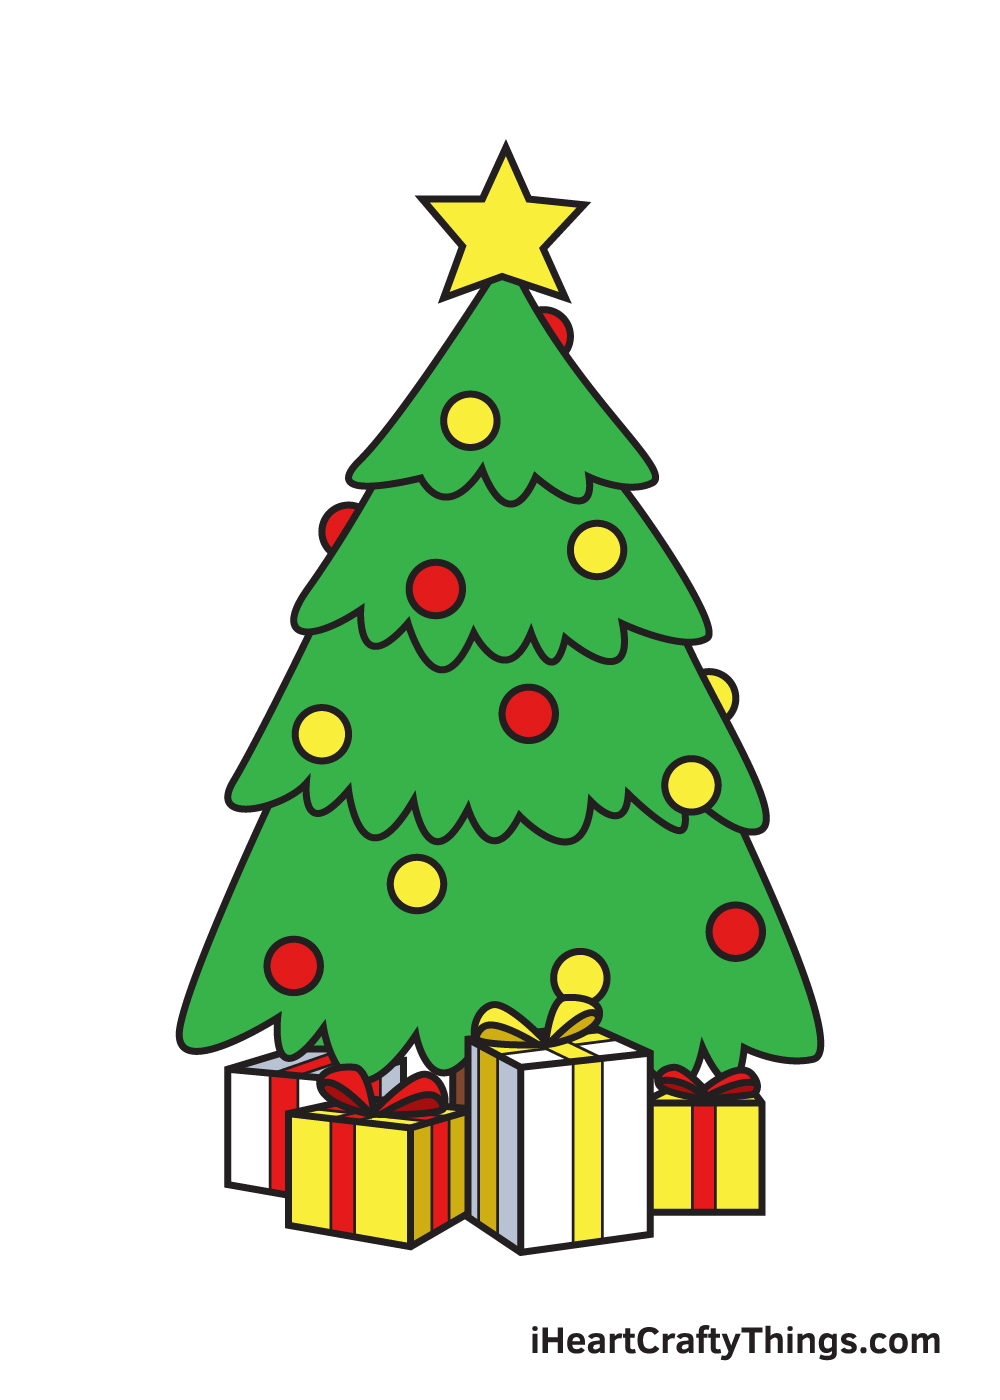
Your Christmas Stuff Drawing is Complete!
Christmas is definitely one of the most exciting festive holidays not just for kids, but also for people of all ages.
It is that time of the year when we gather with our loved ones to eat good food, open presents, and most importantly, light up the Christmas tree.
So hopefully, you enjoy this step-by-step Christmas stuff drawing tutorial!
We are regularly uploading new content on our "How to Draw" catalog, so make sure you keep checking back to continuously enjoy brand-new drawing tutorials like this one.
Let us know what you would like to learn how to draw next, and we'll do our best to deliver your requests!
After you finish drawing and coloring Christmas stuff, don't forget to share your masterpiece on our Facebook page and on Pinterest! Don't be embarrassed—you've worked so hard for it, so we're sure it looks incredible!
We're looking forward to seeing your festive Christmas stuff drawing!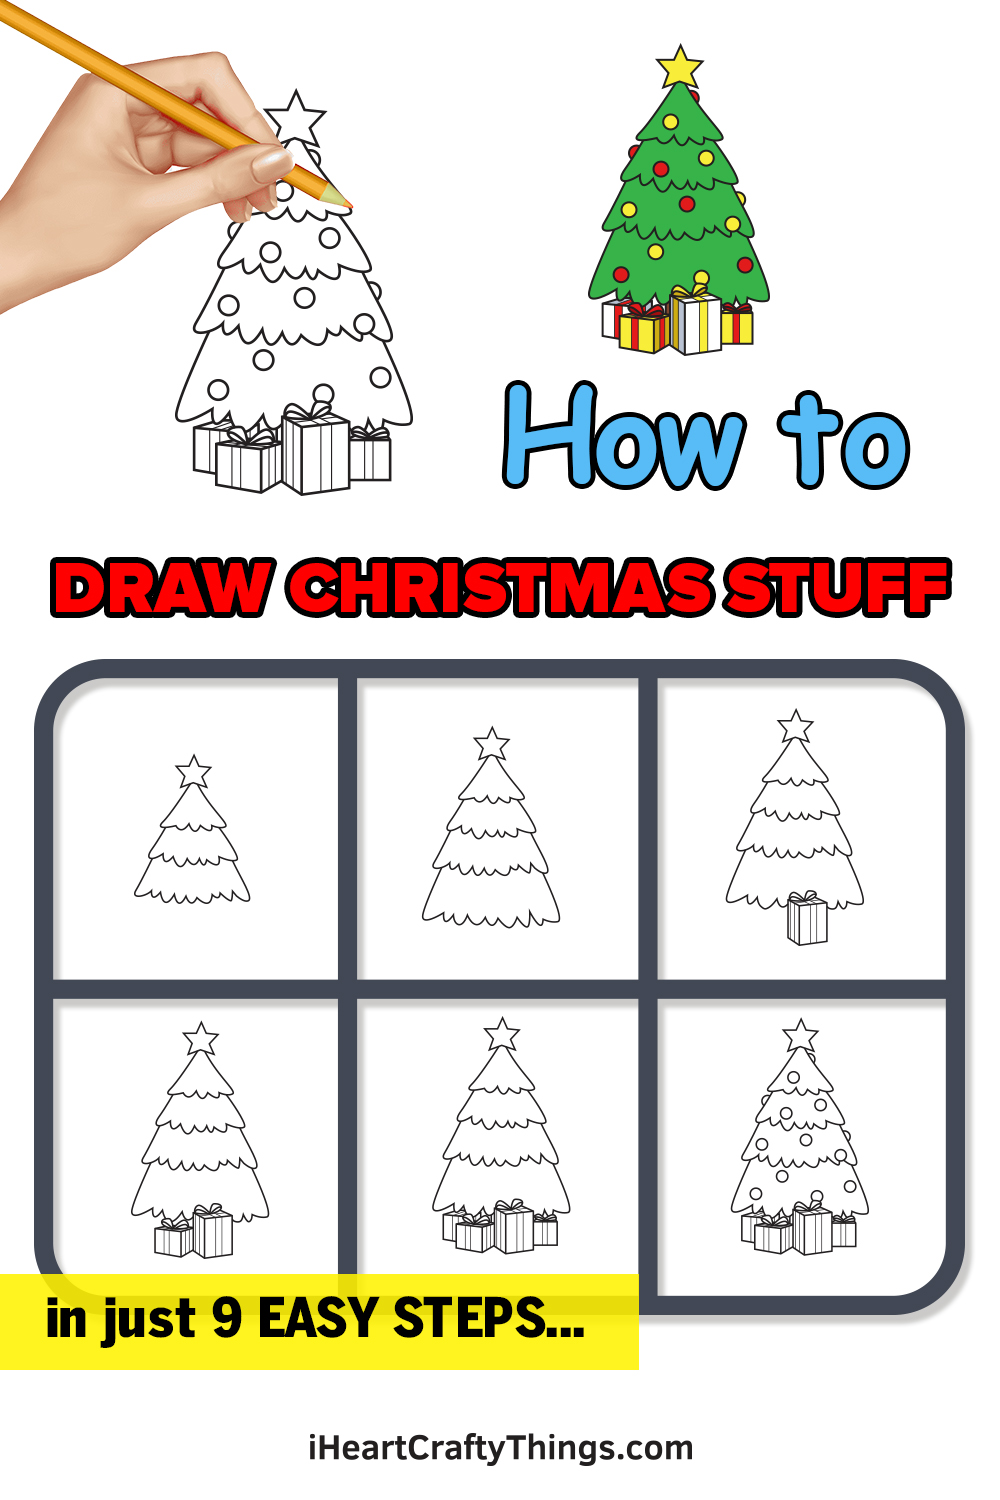
Things You Can Make With Drawings for Christmas
Source: https://iheartcraftythings.com/christmas-stuff-drawing.html
0 Response to "Things You Can Make With Drawings for Christmas"
Post a Comment